Create Block
Lazy Blocks allows you to create custom blocks with HTML or PHP output. You can build blocks for content display or create custom meta fields that can be accessed in your theme code. This guide will walk you through the block creation process.
Getting Started
-
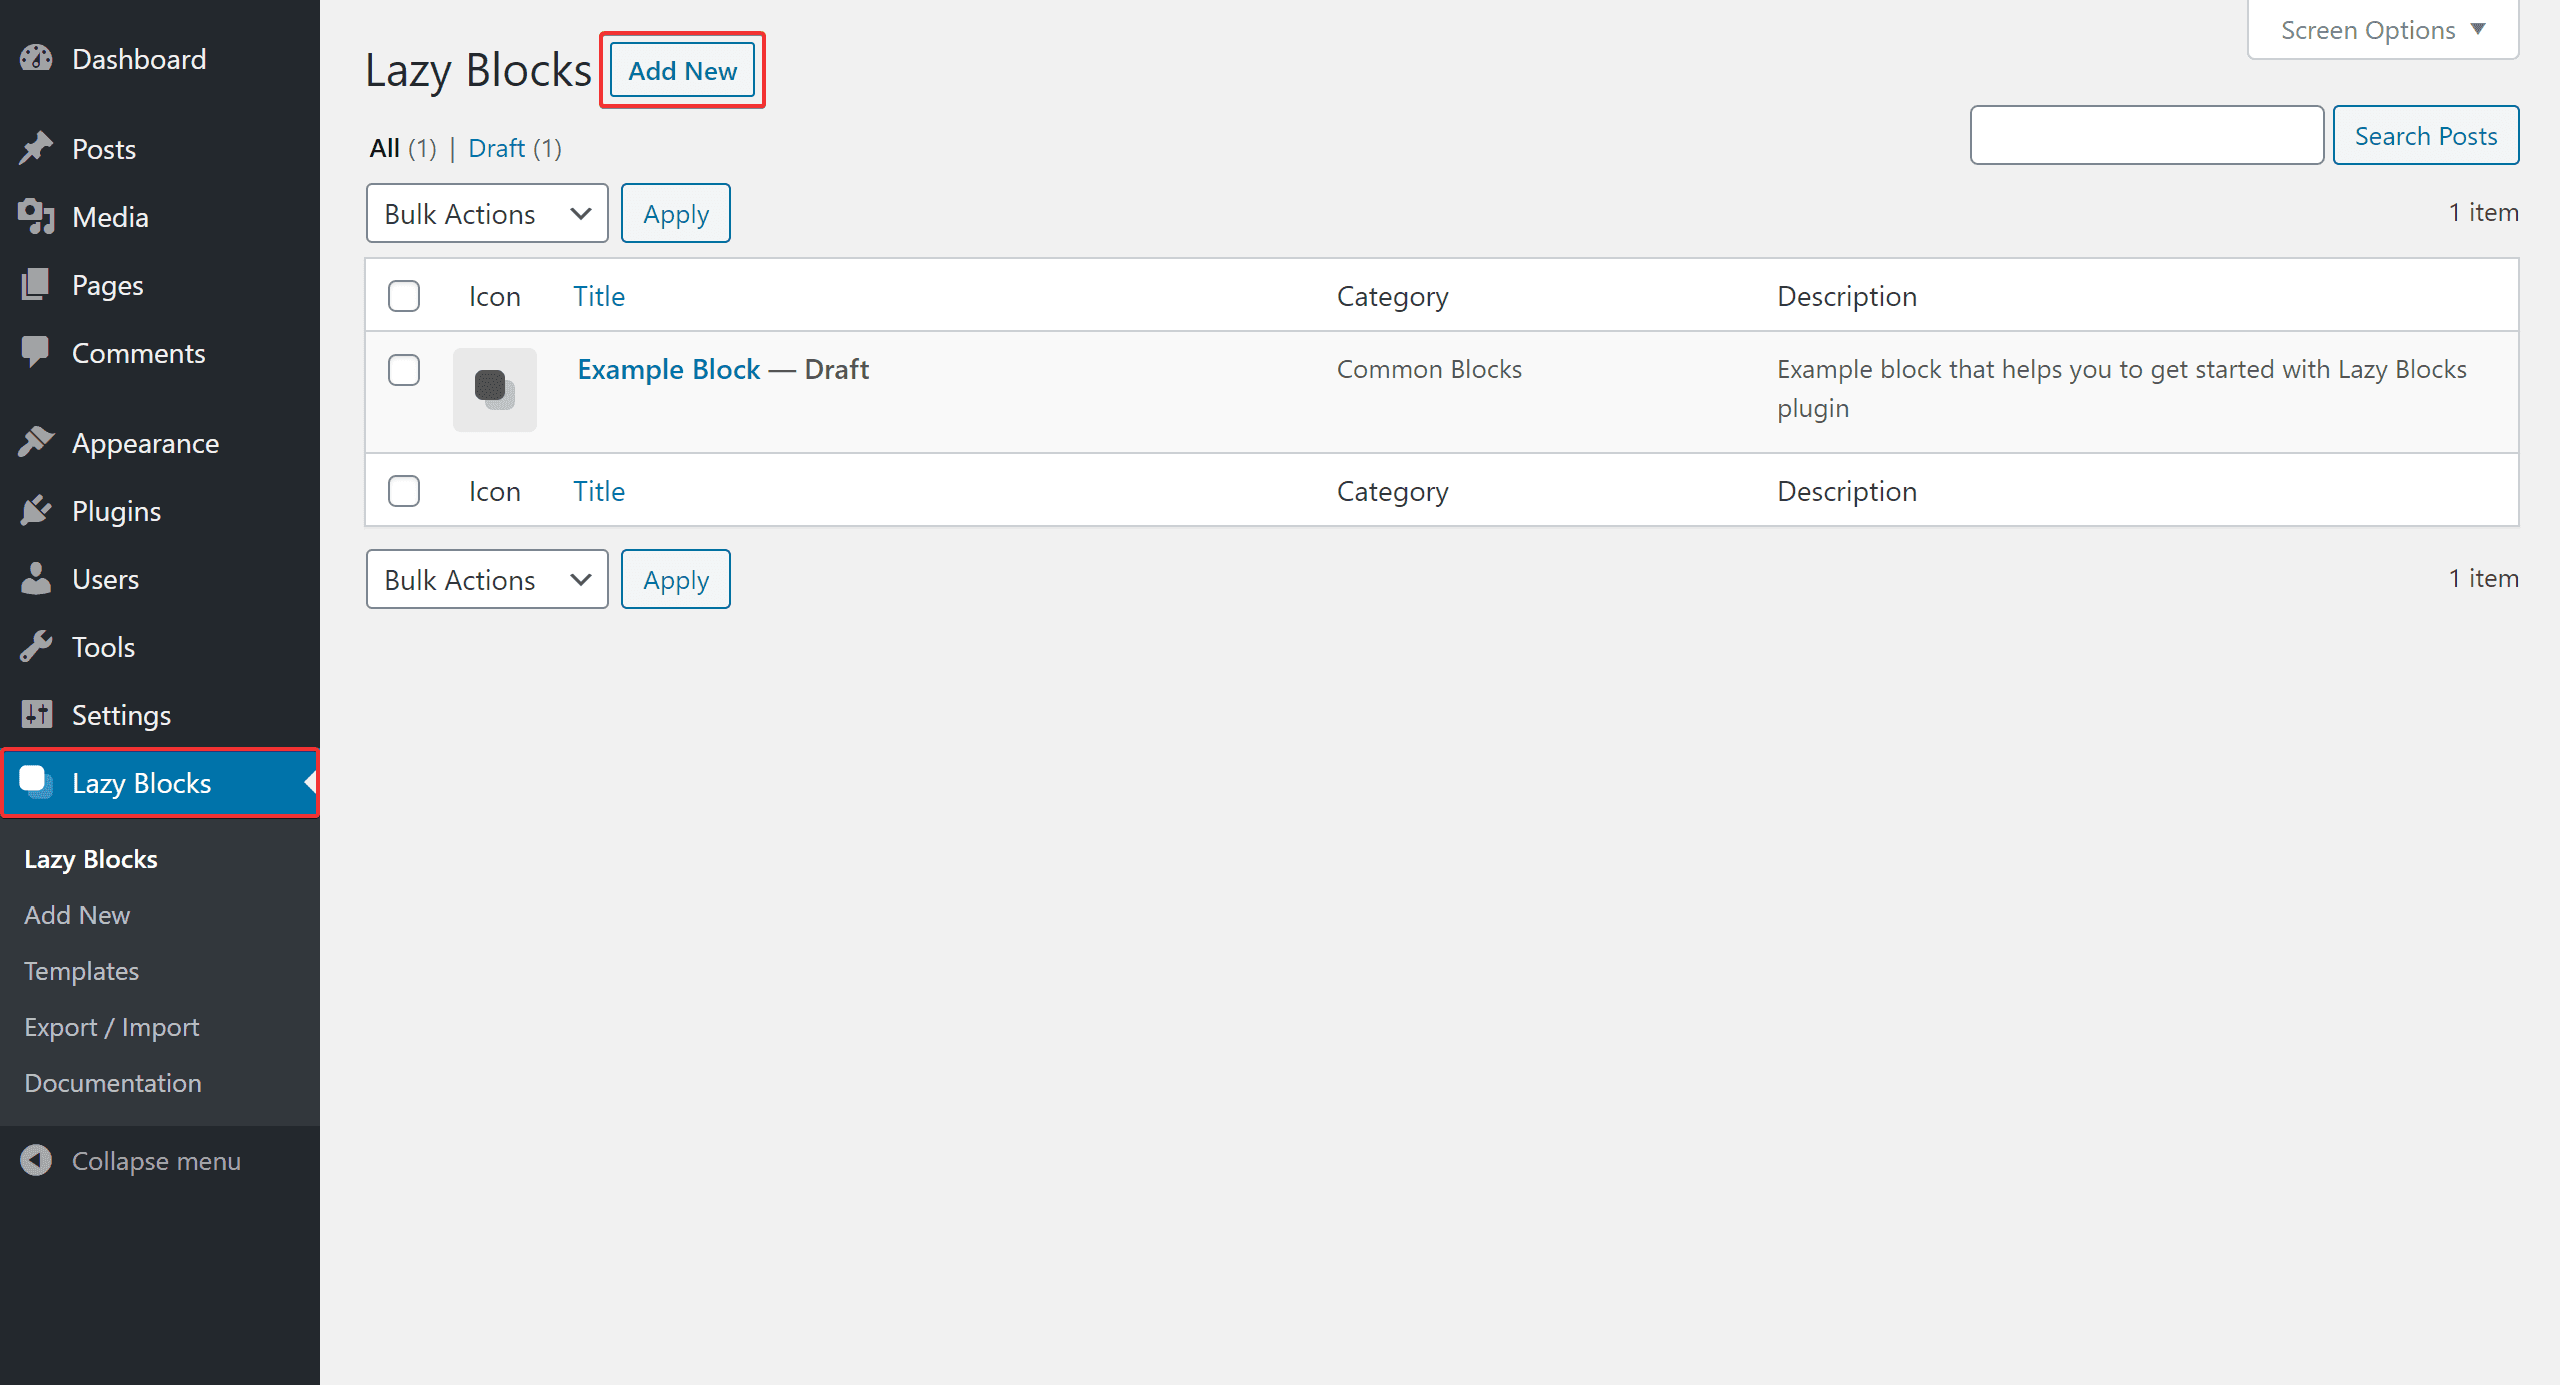
Navigate to WordPress Admin → Lazy Blocks
-
Click Add New button

Setup Wizard
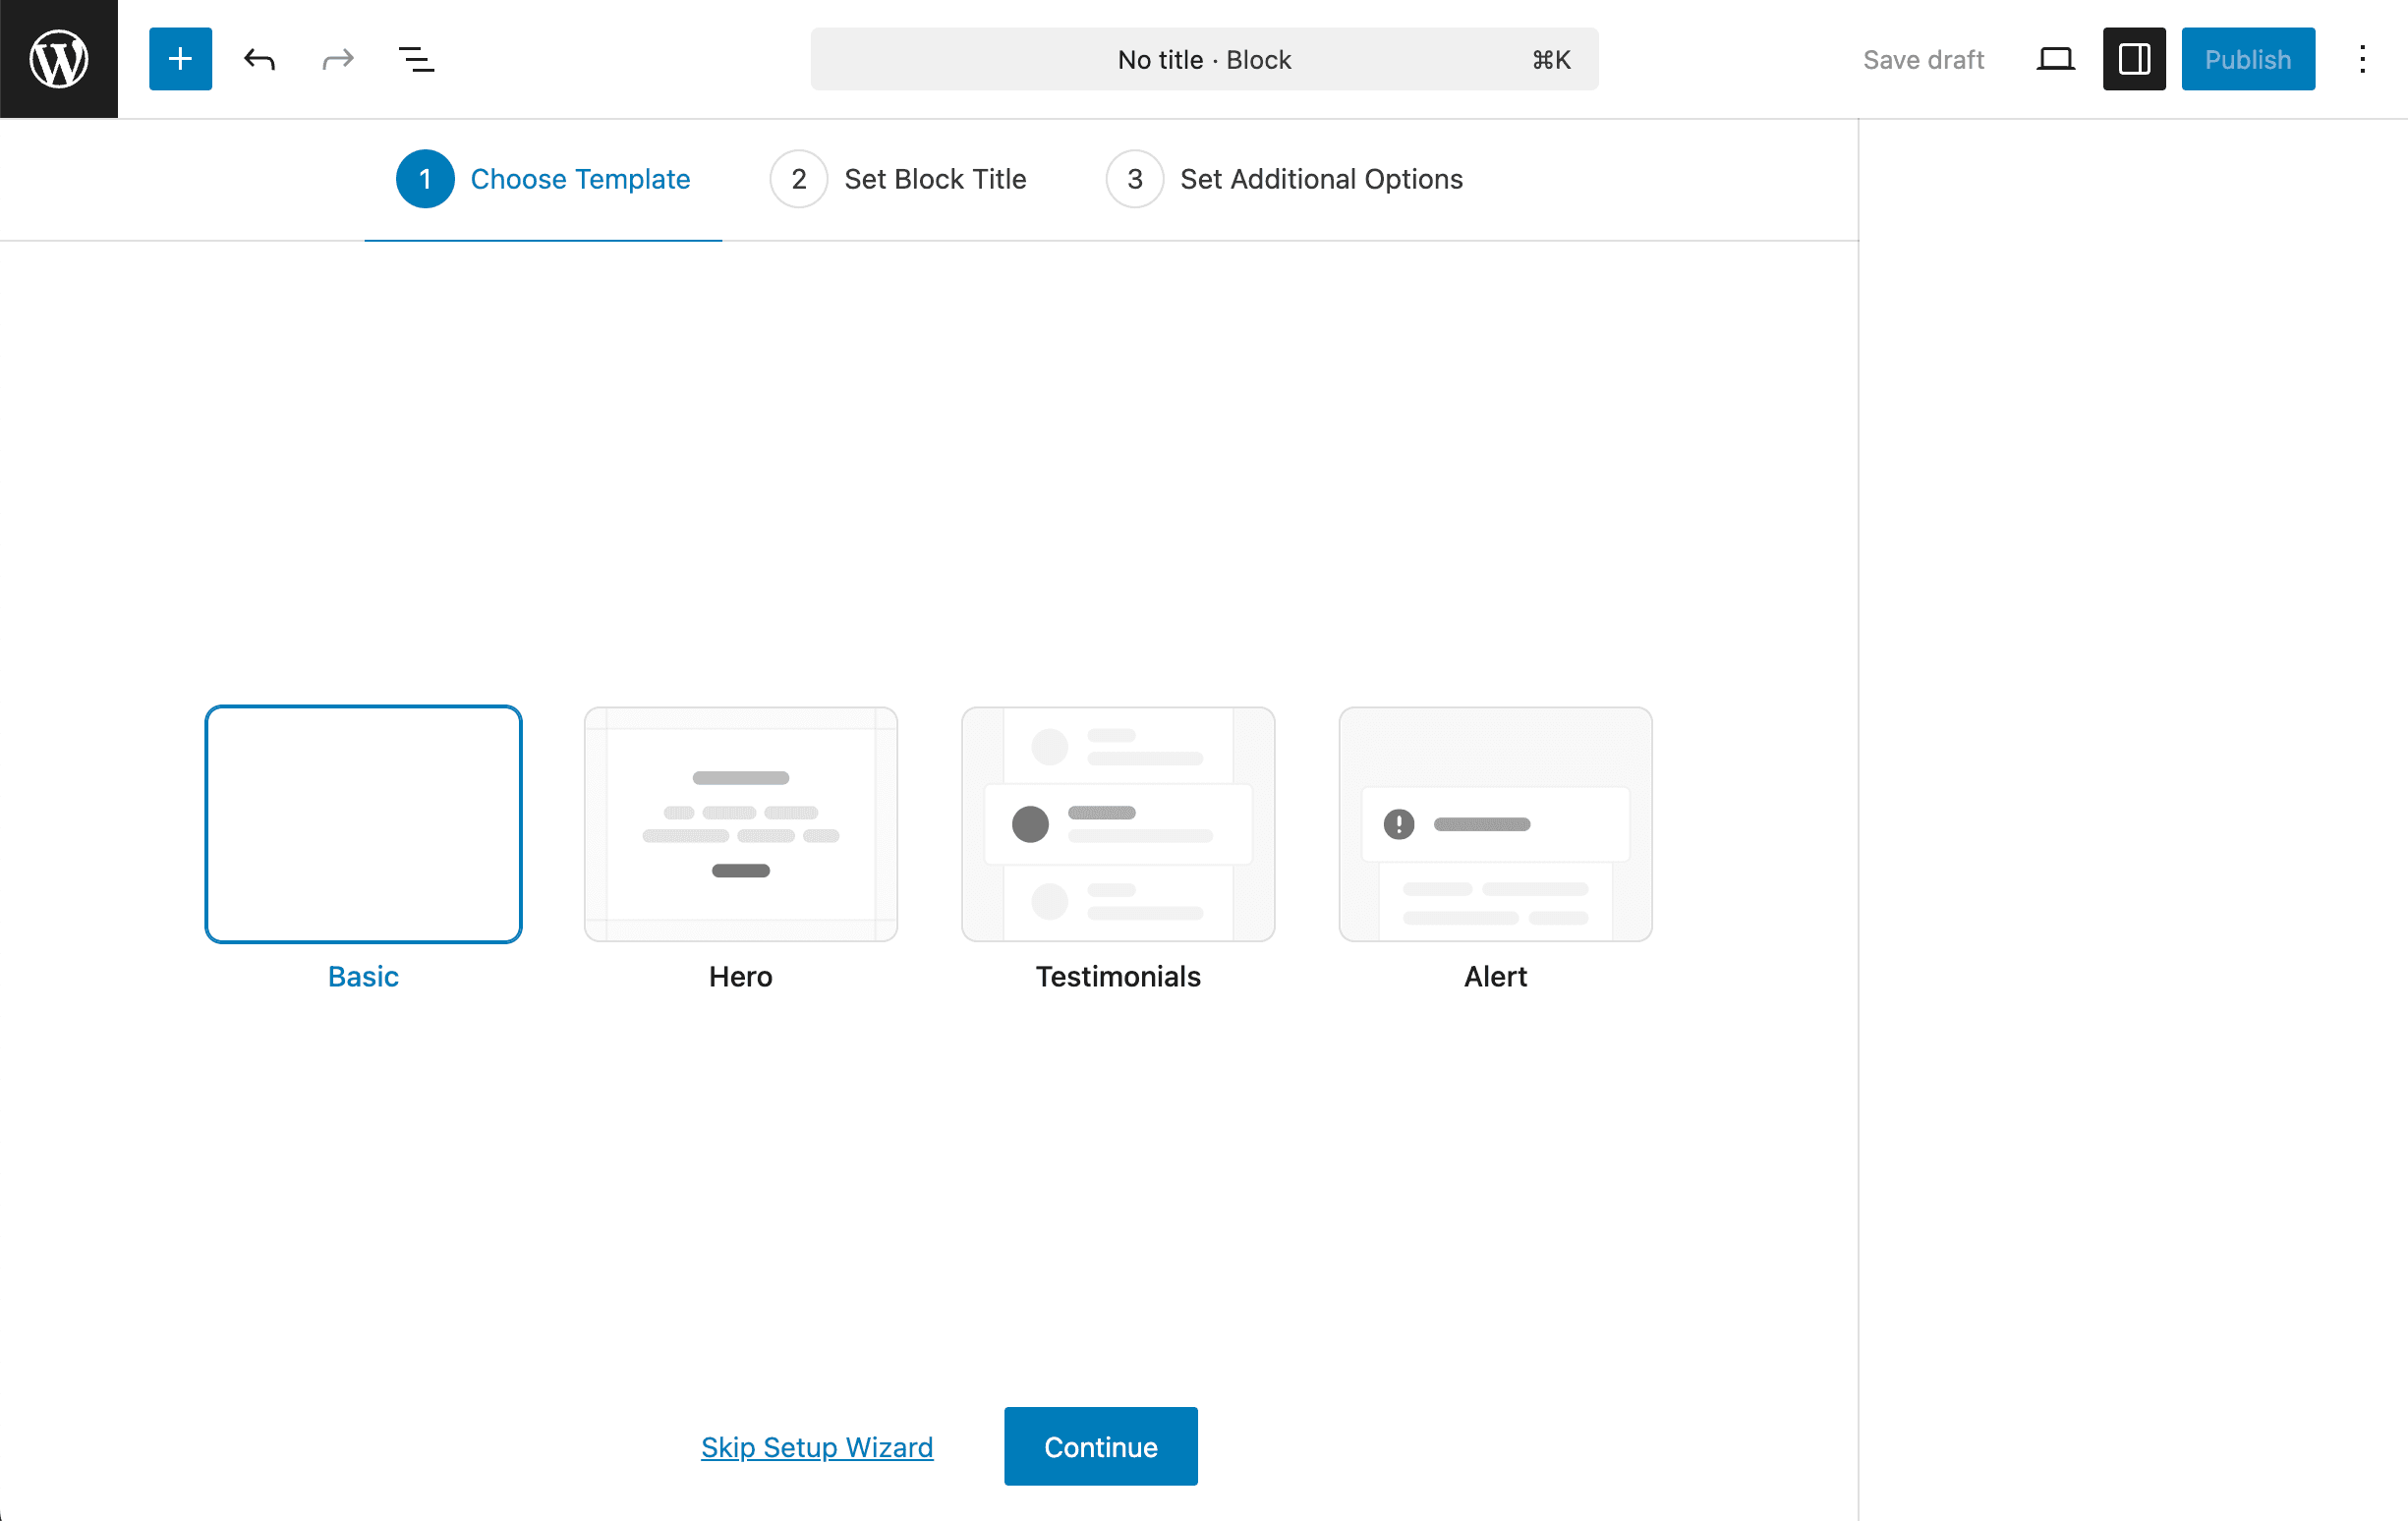
When creating a new block, you'll first see the Setup Wizard screen where you can choose from predefined starter blocks:
- Basic - Simple content block with basic controls
- Hero - Hero section with background and text controls
- Testimonials - Testimonial block with author and quote controls
- Alert - Alert/notice block with message and type controls

These starter blocks come with all necessary controls, code, and styles pre-configured. You can customize them further in the Block Builder after completing the setup.
Block Builder
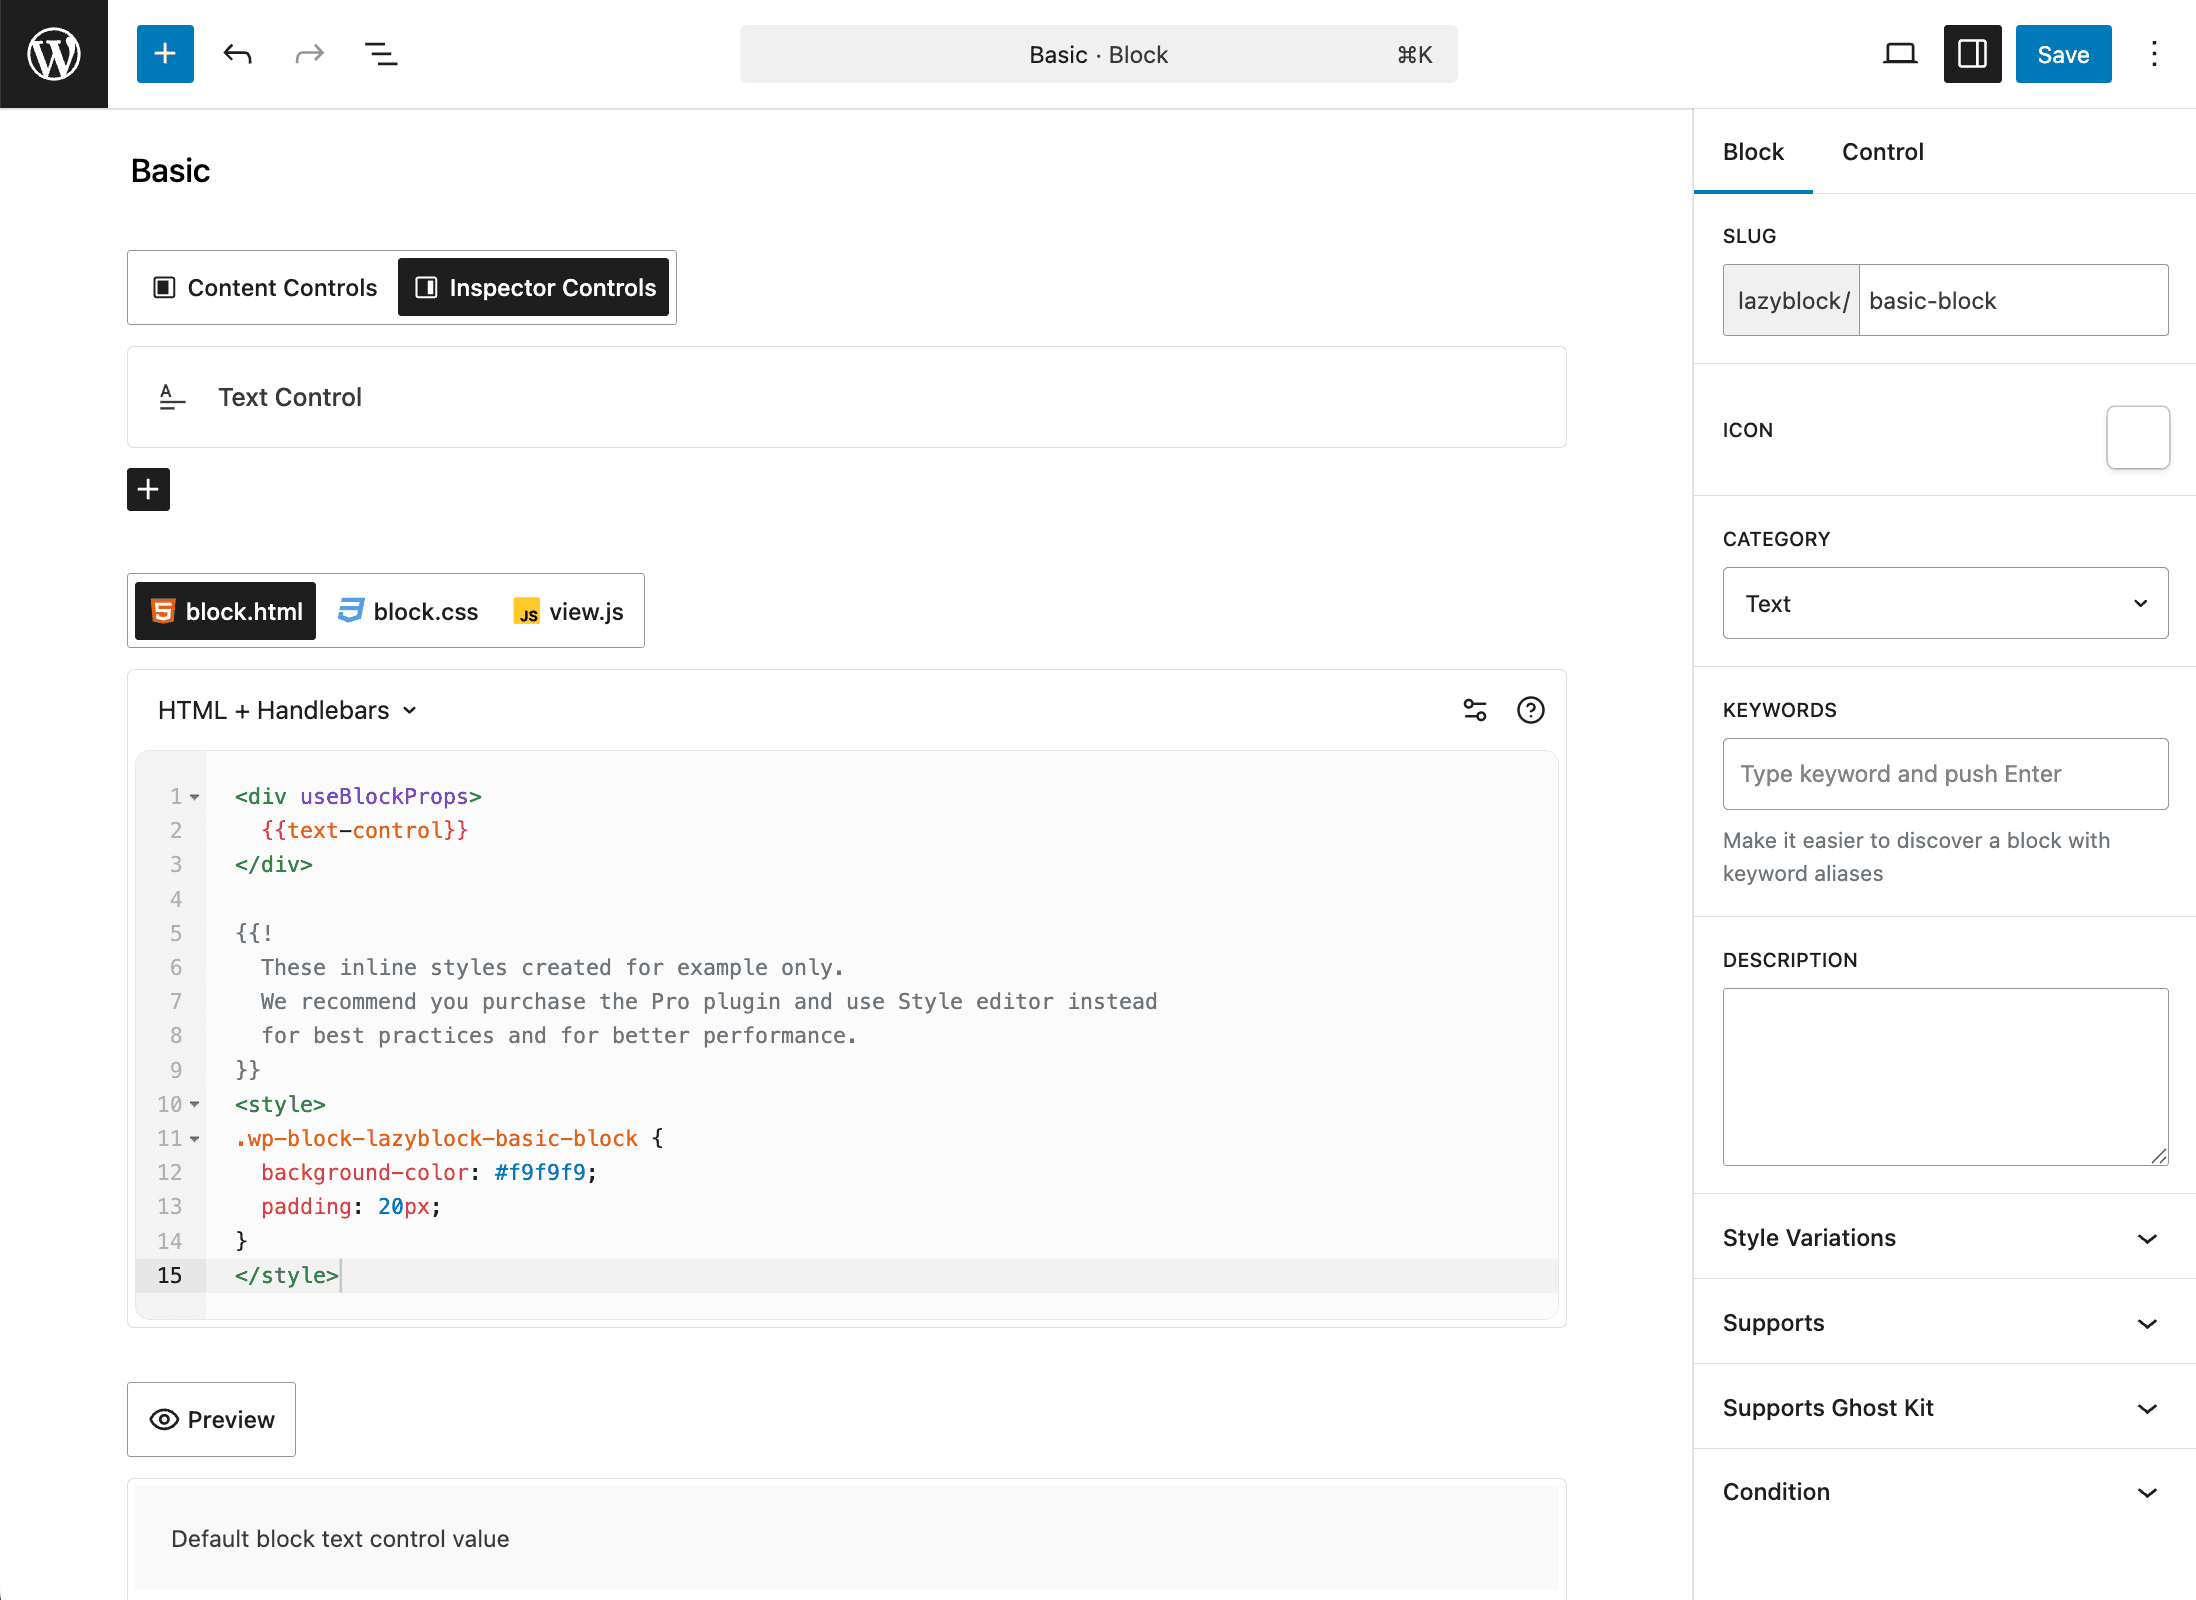
After completing the Setup Wizard, you'll see the Block Builder screen where you can customize your block further.

Controls
Configure the options available in your block. Controls determine what users can customize when using your block. Learn more about controls
Block Code
Choose between HTML + Handlebars, PHP or Theme Template to determine how your block code displays. See detailed code documentation
- block.html / block.php - code that displays in editor and frontend
- frontend.html / frontend.php - code that displays in frontend only
- editor.html / editor.php - code that displays in editor only
- Output Method - Choose between HTML + Handlebars, PHP or Theme Template
Assets settings:
- block.css - style that enqueued in editor and frontend when block is used on the page
- editor.css - style that enqueued in editor
- view.js - script that enqueued in frontend when block is used on the page
Additional settings:
- Unified Block Code - use a single editor (block.html / block.php) with code that displays in editor and frontend
- With Editor Style - additional CSS enqueued in editor only
- Code Output in Editor - Control when the block code appears in editor
Block Settings
- Title - The block's name in the inserter
- Collection & Namespace - Group and organize your blocks
- Slug - Unique identifier (lowercase letters, numbers, and dashes only)
- Description - Brief explanation shown in the inspector
- Icon - Dashicon to represent your block
- Category - Group your block with similar blocks
- Keywords - Search terms (max 3) to help users find your block
- Style Variations - Alternative visual styles
- Supports
- Color - Enable color controls
- Typography - Add typography controls
- Spacing - Add spacing (padding/margin) controls
- Dimensions - Enable width/height controls
- Shadow - Enable shadow controls
- Layout - Add layout options
- Align - Add alignment options
- Anchor - Add ID attribute support
- Class Name - Enable custom CSS classes
- Multiple - Allow multiple instances per page
- Inserter - Show in blocks inserter
- Reusable - Allow conversion to reusable block
- Lock - Enable block locking
- Supports Ghost Kit - Enable Ghost Kit compatibility
- Condition - Restrict block to specific post types. If no post types selected, the block will be shown everywhere
- Relationships - Create connected blocks with advanced settings:
- Provide Context to Blocks - Share current block's attributes with selected child blocks
- Ancestor - Restrict where this block can be inserted (parent block requirements)
- Allowed Blocks - Control which blocks can be inserted as children in
<InnerBlocks />